(Written like a hobbyist showing a friend how to set up their first small aquarium)
Nano tanks are fun, affordable, and perfect for beginners who don’t want a huge aquarium taking up space. But because they’re small, they need a bit more care and planning. The good news is that once you set them up properly, nano tanks can be easy to maintain and incredibly beautiful.
Here’s a simple, natural, step-by-step guide to help you build a healthy nano tank from scratch.
Start by Choosing the Right Size
Nano tanks usually range from 10 to 30 litres. Smaller tanks look cute, but they’re more sensitive to mistakes. If you’re just starting out, something around 20 litres is a great sweet spot. It’s compact but still has enough water volume to stay stable.
Pick a Spot Where the Tank Will Stay
Before you fill anything, choose the final place for the tank. Remember:
• Avoid direct sunlight
• Keep it away from windows and heat sources
• Make sure the surface is strong and flat
• Have a power socket nearby
Nano tanks are light enough to move when empty, but once they’re filled, you won’t want to shift them.
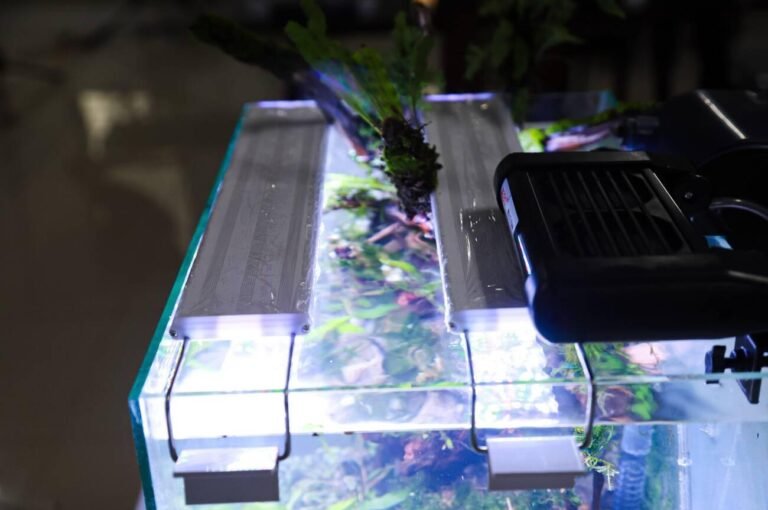
Choose a Filter That’s Safe for Small Tanks
For nano setups, gentle filtration is best.
• A sponge filter is perfect for shrimp or small fish
• A tiny hang-on-back filter also works, as long as the flow isn’t too strong
• Internal filters are fine if they don’t blast the tank with current
Shrimp or baby fish can get sucked into powerful intakes, so a pre-filter sponge is always a good idea.
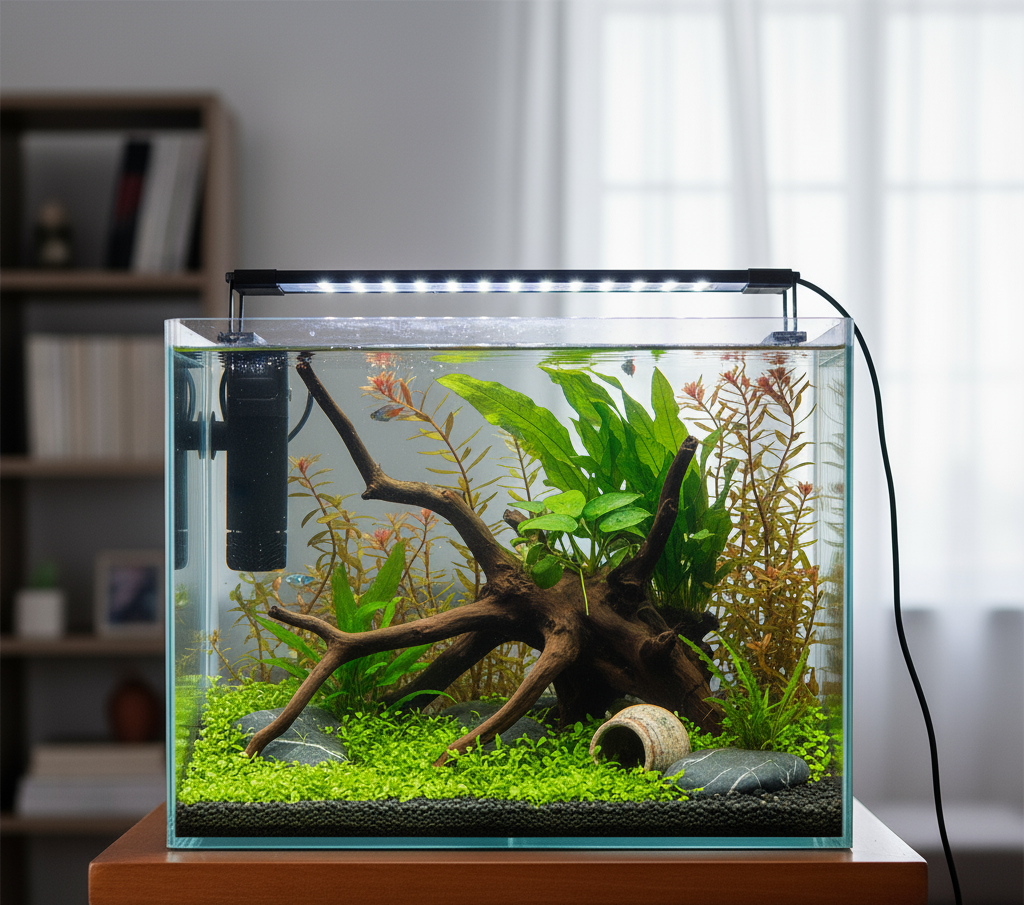
Pick a Light Suitable for Plants
Even if you don’t plan on keeping many plants, a decent LED light helps the tank look bright and clean. If you’re keeping live plants, choose a simple aquarium LED designed for low-tech setups. Don’t overdo it. Strong lighting in a small tank usually means algae.

Add Substrate and Hardscape
Nano tanks look best when the layout is simple.
• Use aquarium soil for planted setups
• Or sand/gravel with a few root tabs
• Add one main piece of driftwood or a couple of stones
• Keep space open for swimming
Because the tank is small, avoid stuffing it with too much décor. Clean, minimal layouts always work best.
Plant Your Plants Before Filling the Tank
It’s easier to plant when the tank is half full or completely empty. Use hardy plants that thrive in low-tech nano tanks:
• Anubias
• Java Fern
• Cryptocoryne
• Moss
• Dwarf Sagittaria
• Pearlweed
These plants don’t need CO₂ and stay compact.
Slowly Fill the Tank
Pour water gently so you don’t disturb the plants or substrate. You can place a plate or plastic bag on the bottom and pour water over it to avoid making a mess.
Always use water conditioner to make tap water safe.
Start the Filter and Light
Once the tank is full, turn on the filter and light. Don’t leave the light on all day. Around six to eight hours is enough for a new tank.
At this stage, the water may look cloudy. That’s normal. It clears up as the system settles.
Let the Tank Cycle
This is the part most beginners skip, which leads to dead fish later. A nano tank needs time to build beneficial bacteria that break down waste. Let the tank run for at least a week or more before adding any fish or shrimp.
Live plants help the cycle happen faster, so don’t rush.
Add Fish or Shrimp Slowly
Nano tanks can’t hold many animals, so choose carefully.
Great nano choices include:
• Cherry shrimp
• Ember tetras
• Chili rasboras
• Endler guppies
• Small snails
• Sparkling gourami (single)
• Pygmy corydoras
Add them one group at a time. The tank needs to adjust to the new load.
Do Small, Regular Maintenance
Nano tanks stay healthy with gentle care:
• Small weekly water change
• Don’t overfeed
• Clean the glass lightly
• Rinse sponge filters in old tank water
• Trim plants when they spread too much
Consistency keeps everything stable.